
Coloring has evolved from being a simple childhood pastime into a powerful and creative activity enjoyed by people of all ages. Whether you’re filling in intricate mandalas, working on adult coloring books, or simply experimenting with sketches, coloring has proven to be both relaxing and rewarding. But here’s the thing—while coloring may look simple at first glance, there’s actually a lot of technique involved in creating those polished, vibrant results we often admire. That’s why understanding a few basic coloring tips can make a huge difference for beginners.
This guide covers ten practical, beginner-friendly methods that will not only help you color with confidence but also make the process more enjoyable. Think of this as your roadmap to achieving smoother blends, richer colors, and more professional-looking pages without feeling overwhelmed. So grab your pencils, markers, or pens, and let’s dive in!
1. Choose the Right Coloring Tools
One of the first steps to successful coloring is selecting the right tools. The variety of coloring supplies available today can feel overwhelming, but understanding the strengths of each medium will help you get started on the right foot.
- Colored Pencils – These are the go-to choice for most beginners. They allow for precision, layering, and blending. You can start light and gradually build up intensity, which makes them forgiving and versatile. They’re also relatively inexpensive and come in sets ranging from budget-friendly to professional quality.
- Markers – If you’re looking for bold, vibrant colors, markers are a great choice. Alcohol-based markers (like Copic or Ohuhu) blend beautifully but can bleed through thin paper. Water-based markers are more affordable but may streak if overused in one area.
- Gel Pens – These add a pop of shine and are perfect for detailing. Metallics, neons, and glitter gel pens bring extra flair to your work. However, they’re best used for accents rather than filling large areas.
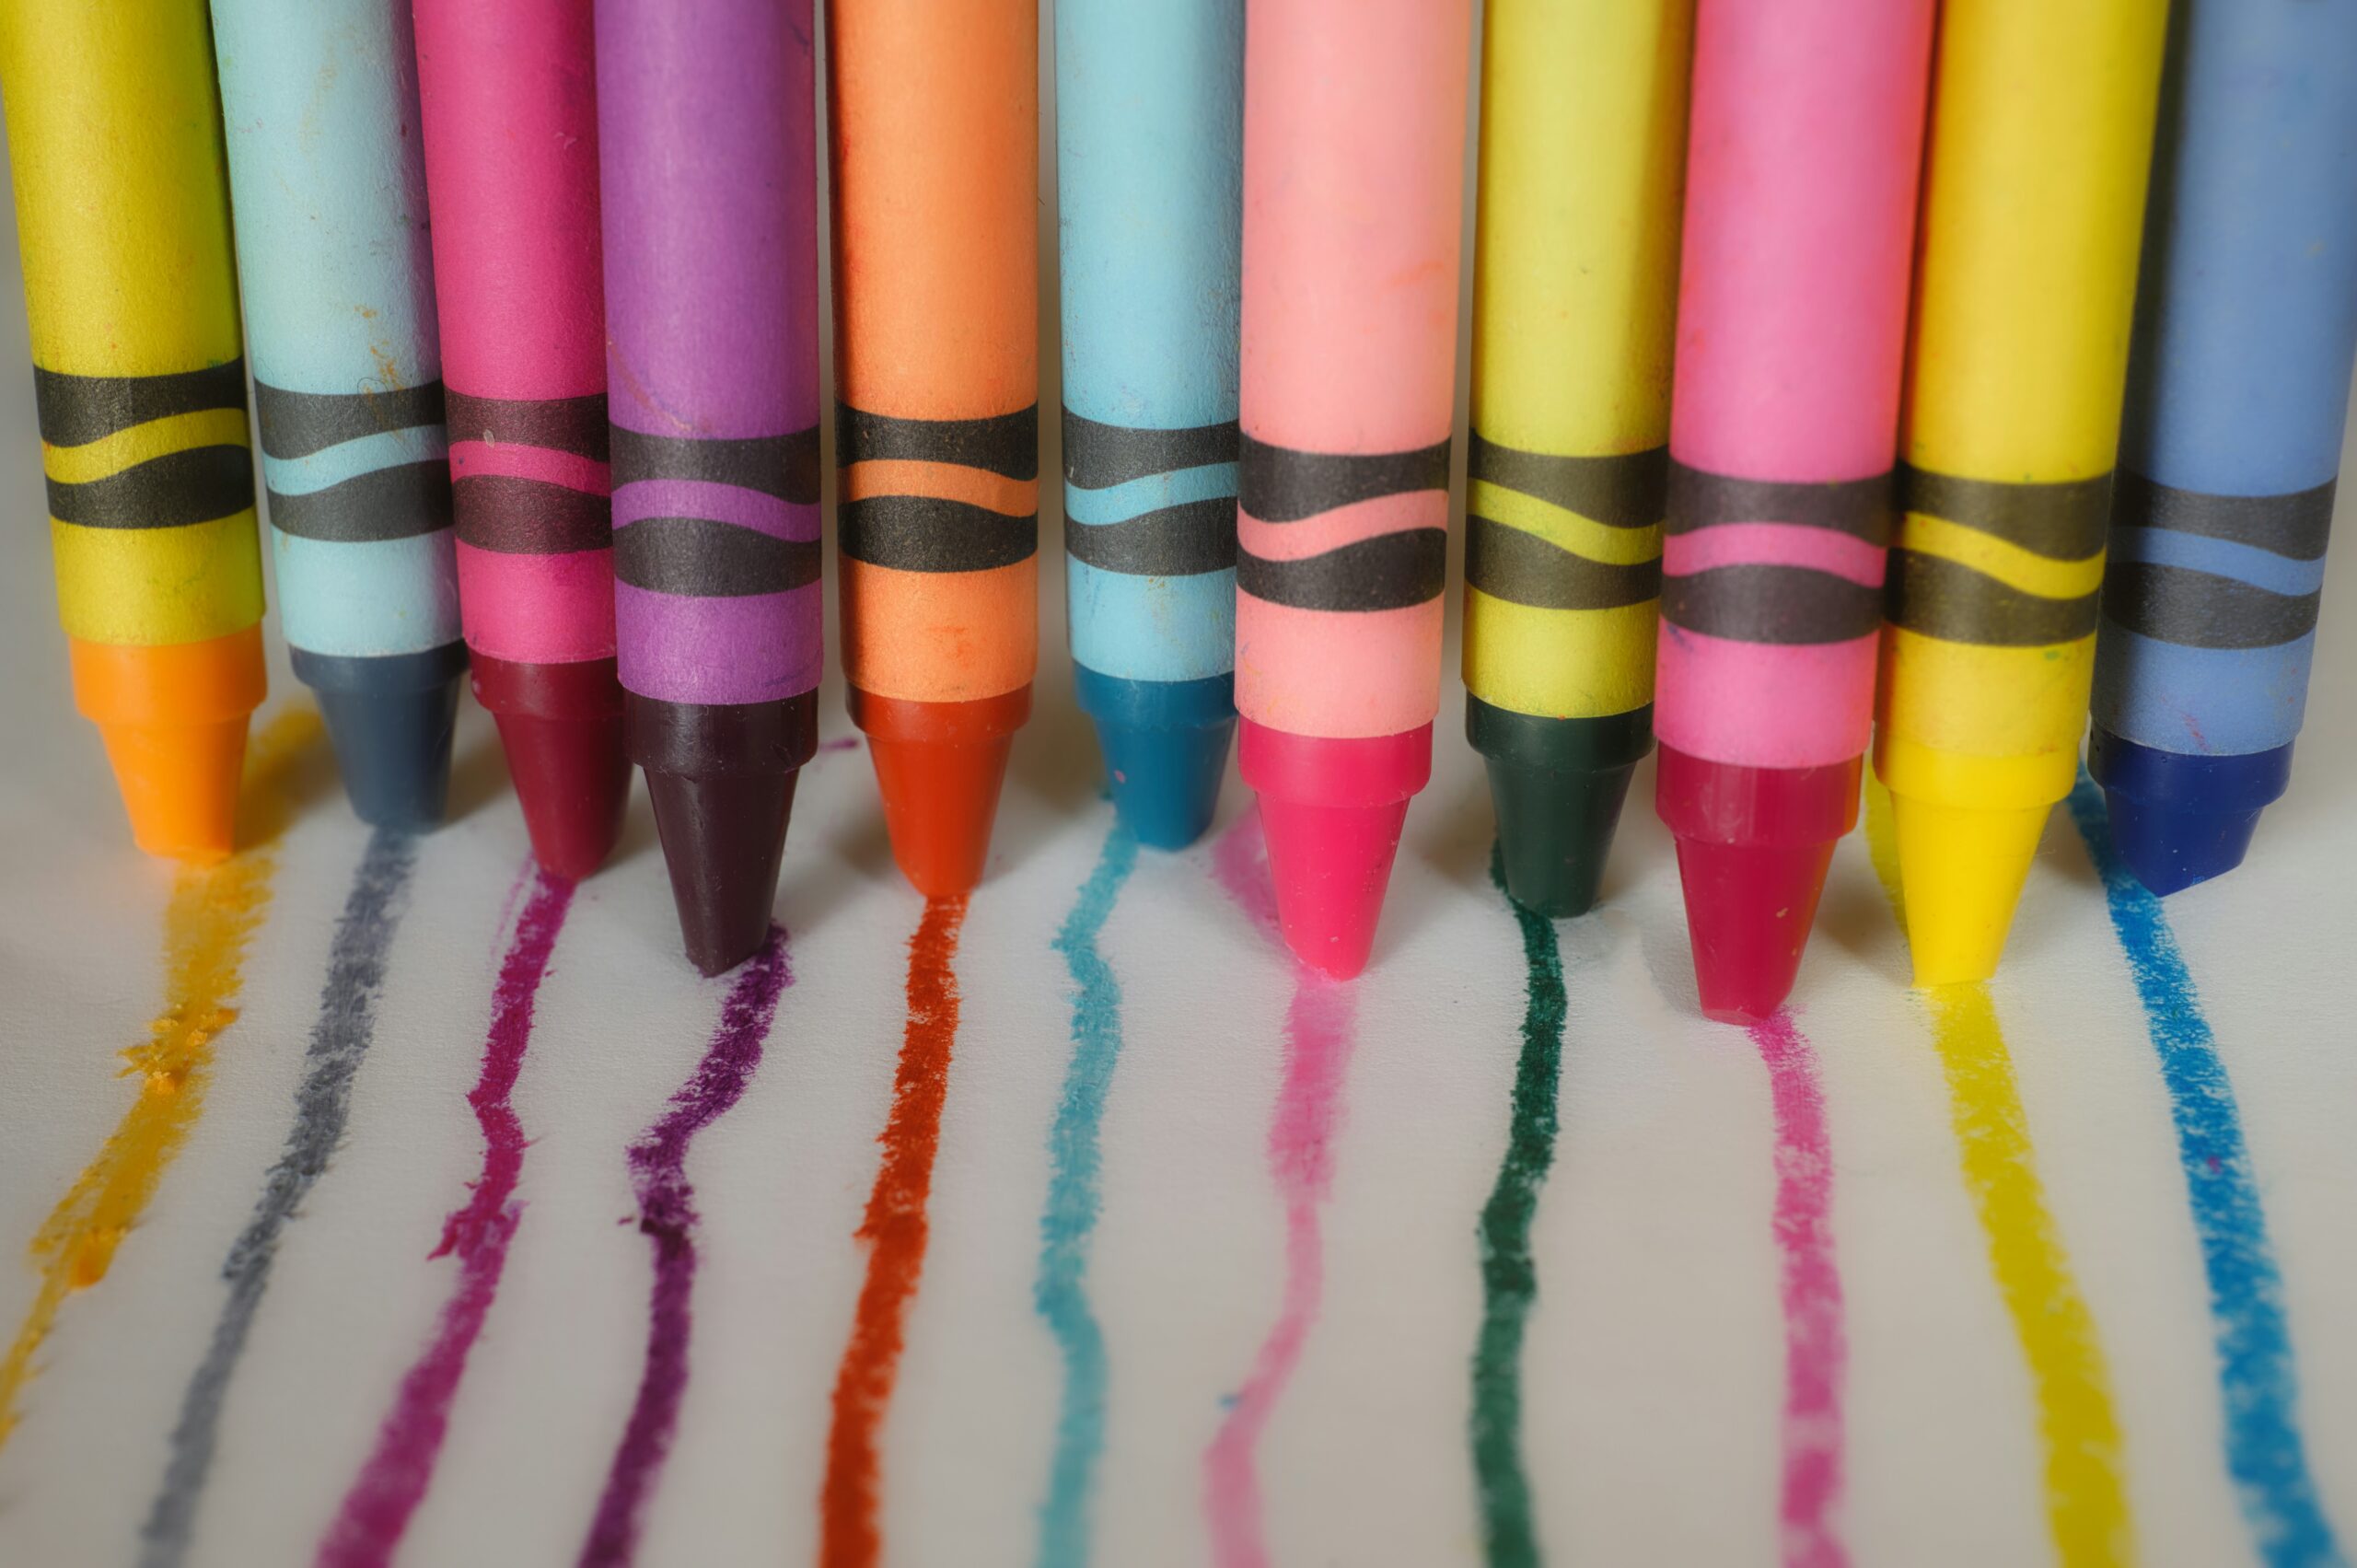
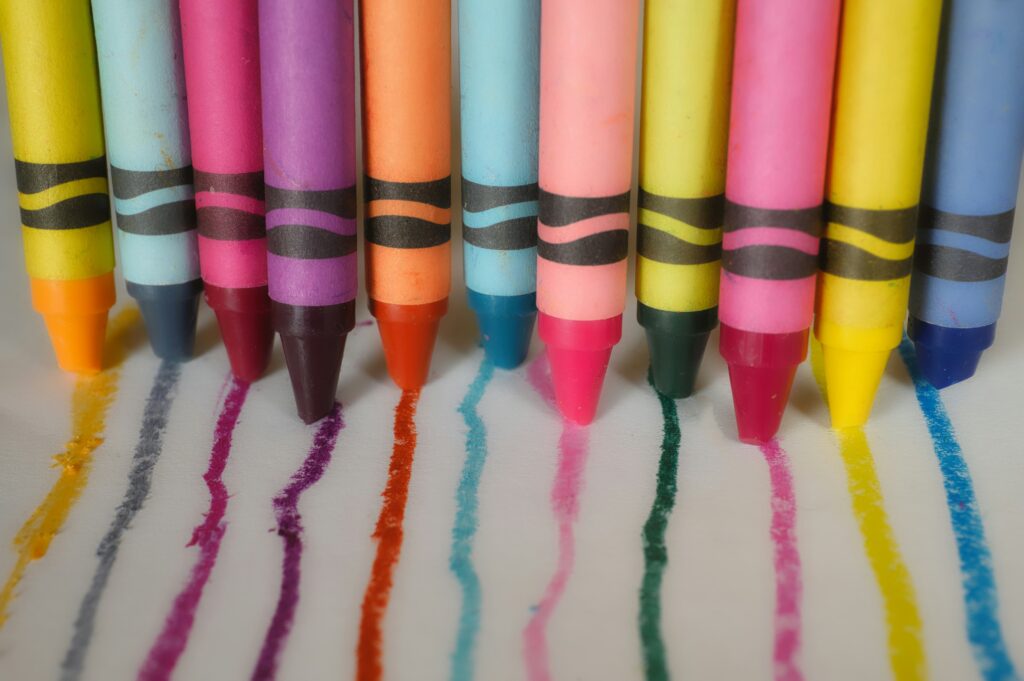
- Crayons – While often associated with children, crayons are still a useful medium. They’re inexpensive, portable, and fun for creating textured effects.
Beginner Tip: Instead of buying a massive set right away, start with a smaller, mid-range set of pencils or markers. This allows you to learn techniques without feeling overwhelmed by too many choices. Over time, you’ll discover which medium fits your style best.
A thorough beginner’s guide covering supplies like pens and pencils, simple techniques, and includes a free “Beginner’s Guide to Coloring” PDF. A great starting place to understand foundational concepts.
2. Pick Quality Paper
Many beginners underestimate the importance of paper, but it can truly make or break your coloring experience. The paper you choose affects how colors appear, how they blend, and whether they bleed through.
- Weight of Paper: Heavier paper (measured in GSM) can handle more layers and ink without warping. A GSM of 120–160 is ideal for coloring pencils, while 200+ GSM works well for markers.
- Texture of Paper: Smooth paper allows for fine details and even coverage, whereas textured paper grips more pigment, making colors look richer. Depending on your style, you may prefer one over the other.
- Single vs. Double-Sided Pages: Many adult coloring books feature single-sided pages, which prevent bleed-through from ruining the back of the design. If your book doesn’t, insert a sheet of cardstock behind the page to protect the next one.
- Printable Coloring Pages: Another option is to download and print designs onto your preferred paper type. This way, you can customize the quality and avoid ruining original books.
Beginner Tip: If you plan to use markers, always test them on a blank page or the back of the book to check for bleed-through. This simple habit can save you from unintentional mistakes.
3. Start Light, Then Build Layers
When it comes to applying color, one of the most common mistakes beginners make is pressing down too hard too soon. While this may seem like the fastest way to achieve bold color, it often results in streaky, uneven patches—or worse, torn paper.
A better approach is to use layering. Here’s how:
- First Layer (Light Base): Start with a gentle stroke, applying very little pressure. This creates a foundation for your color without damaging the paper.
- Second Layer (Building Intensity): Go over the same area again, gradually pressing a little harder. If you want more depth, introduce a second shade within the same color family.
- Final Layer (Rich Finish): Use a slightly heavier hand for the final pass, or add a darker shade along the edges for dimension.
Layering not only produces smoother coverage but also gives your artwork more vibrancy and richness. With colored pencils, this technique allows for beautiful blending of multiple shades. With markers, layering helps avoid streaks and builds stronger coverage.
Beginner Tip: Always keep your strokes consistent. Use small, circular motions for pencils and long, even strokes for markers to achieve a polished look.
4. Experiment with Blending Techniques
Blending is where your coloring truly starts to look artistic. Instead of flat, blocky colors, blending allows you to create smooth transitions that mimic real-life shading.
Pencil Blending Techniques:
- Layering: Combine light and dark shades gradually to create a gradient.
- Burnishing: Apply heavy pressure with a light-colored pencil (often white or cream) over your layers to “melt” them together.
- Blending Pencils or Solvents: Special colorless blending pencils or even household items like baby oil (applied sparingly with a cotton swab) can soften edges.
Marker Blending Techniques:
- Wet-on-Wet: Apply one color while the previous one is still wet for seamless mixing.
- Colorless Blender: Use a clear blending marker to soften transitions between colors.
- Tip-to-Tip Blending: Touch the tip of a lighter marker to a darker one briefly, then color to achieve a temporary gradient.
Blending takes practice, but it’s one of the most rewarding skills in coloring. Don’t be discouraged if your first attempts look messy. Each page is an opportunity to improve.
Beginner Tip: Test blending techniques on scrap paper before using them in your coloring book. This way, you avoid accidents and learn how different tools interact.
5. Play with Color Schemes
Even if your technique is flawless, the wrong color choices can make a page look unbalanced. That’s why understanding basic color theory can help you elevate your artwork.
- Complementary Colors: These are opposites on the color wheel (like blue and orange, red and green). They create bold, eye-catching contrasts.
- Analogous Colors: These sit next to each other on the wheel (like blue, teal, and green). They produce a softer, harmonious look.
- Monochromatic Scheme: Using different shades of a single color adds depth while keeping the design cohesive.
- Triadic Scheme: Pick three colors evenly spaced around the wheel (such as red, yellow, and blue) for a balanced yet vibrant effect.
If you feel stuck, take inspiration from nature. Sunsets, ocean scenes, flowers, and landscapes naturally display harmonious color combinations. You can also look up color palette generators online for fresh ideas.
Beginner Tip: Before committing to a color scheme, swatch your colors on a separate piece of paper. Sometimes what looks good in theory may not work as well once applied to your design.
My Coloring Pages Recommendation
You can try our flower coloring pages to practice shading techniques.